Introduction
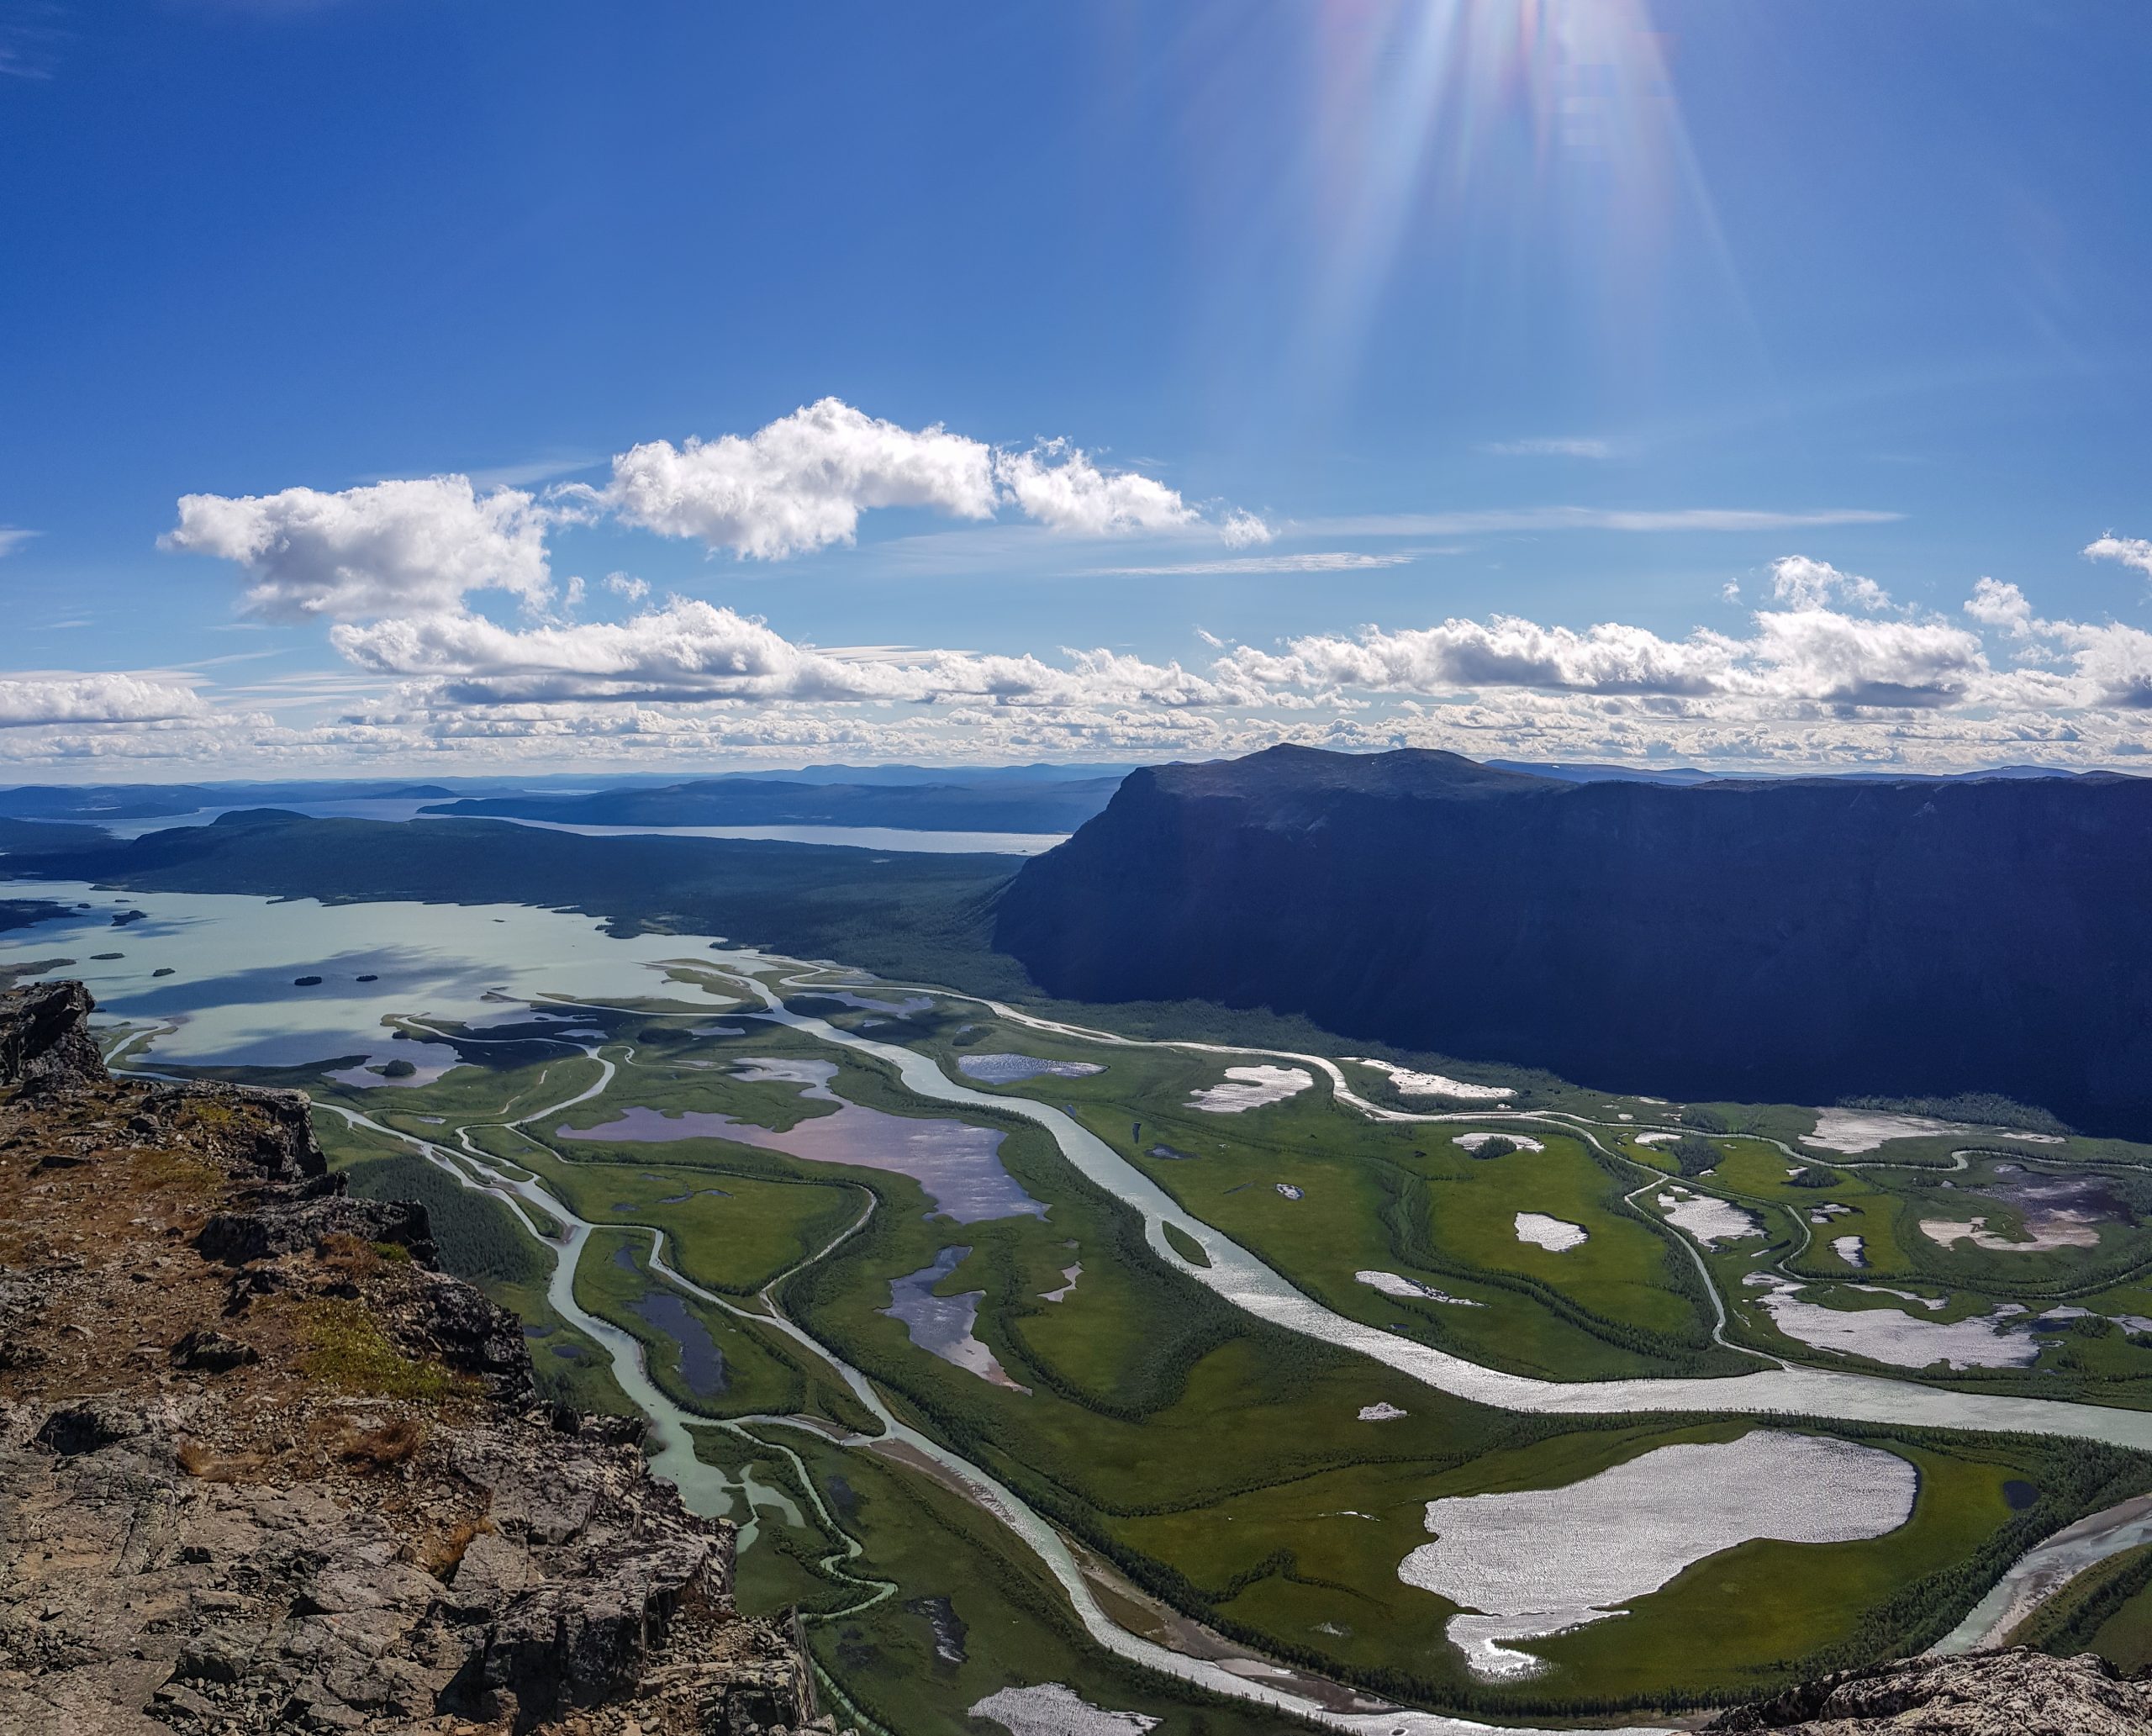
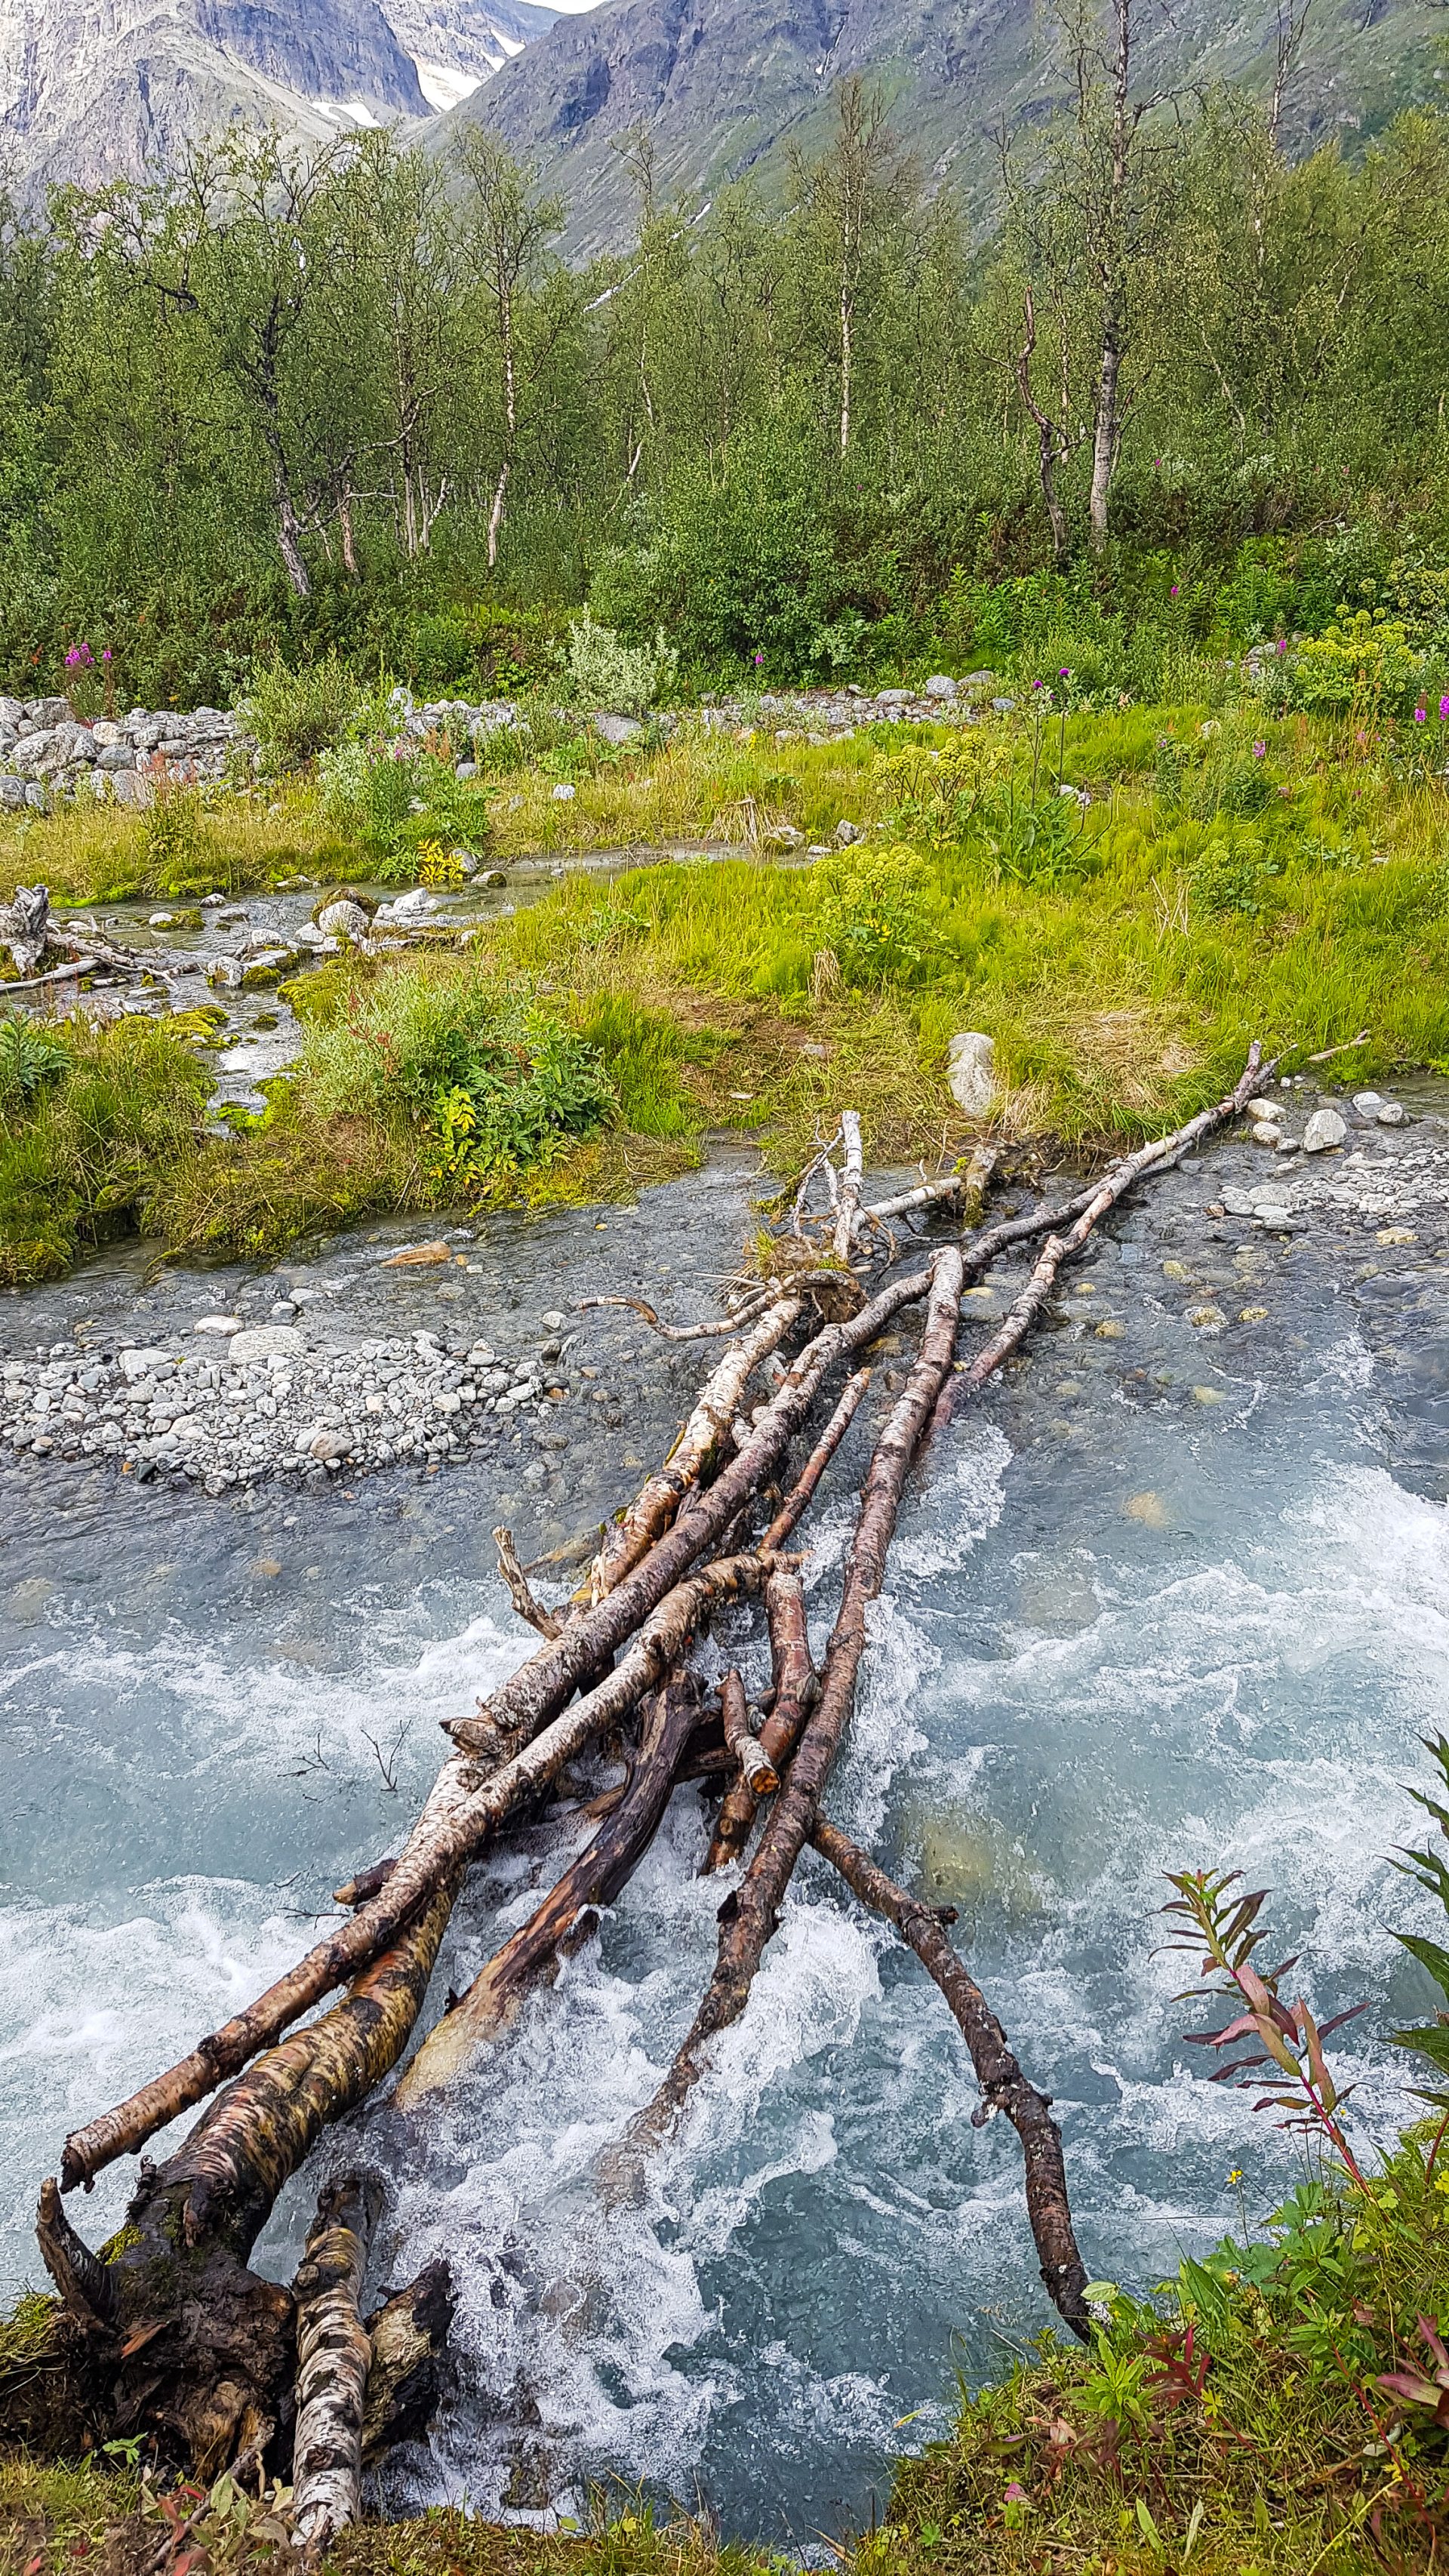
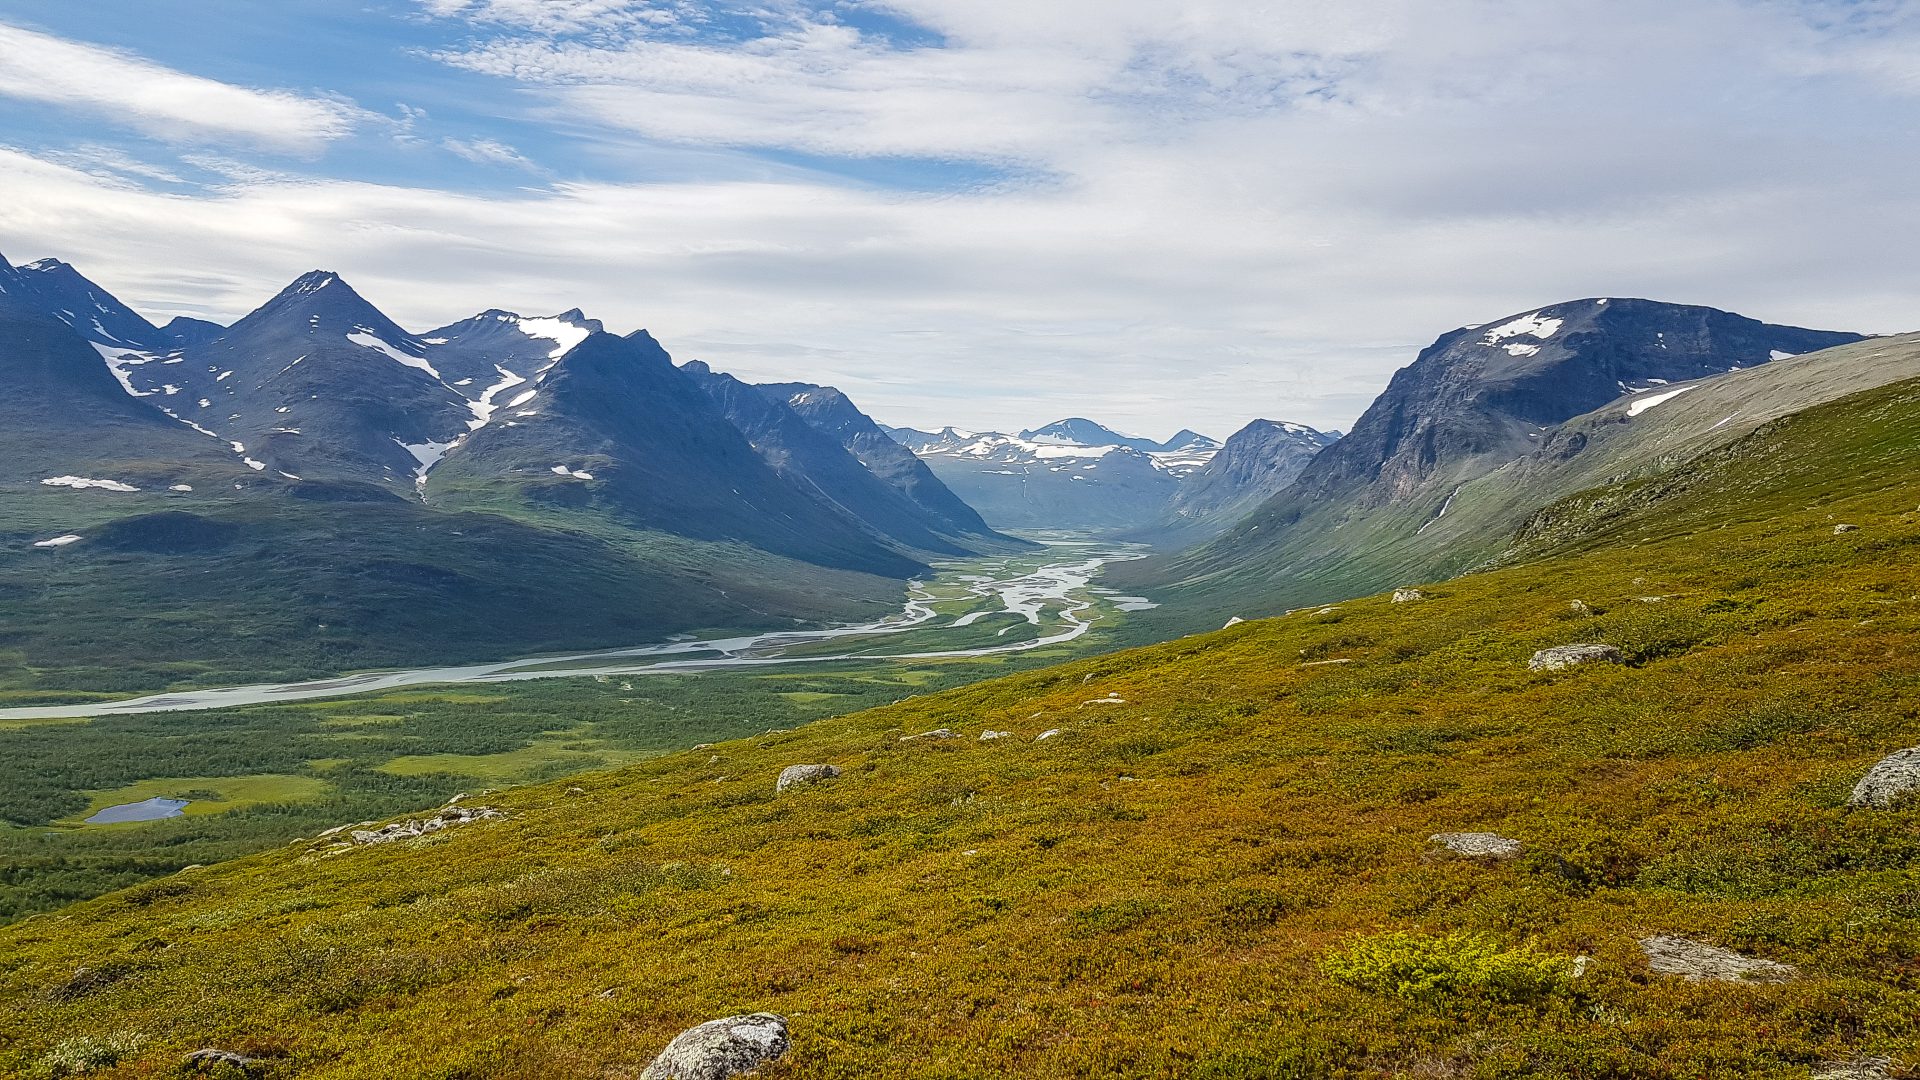
This was my first noteworthy hike into the backcountry. I would consider it a nice start for hiking off-trail in pure nature and wilderness within. You still need the skills, equipment, and planning required for other backcountry treks, but there is a much bigger safety net. Due to its size, you can hike out to infrastructure within one to two days, and emergency response meets European standards. While there is no high altitude, please note that Sarek’s terrain can be challenging, with unbridged river crossings, thick brush, and boulder fields. There are also some dangerous animals at home, like bears or elks.
All in all, I can absolutely recommend Sarek. It was my first backcountry hike, and I absolutely loved it. I learned a lot, and based on this trip, I was able to improve my setup to the point that I still use it today for all my trips (with a few minor improvements). If you want to step into backcountry hiking, this is a great place to start.
PS: Depending on the season, there are mosquitoes, so bring a headnet.

20200811_145224
20200812_111743
20200812_124805
20200812_165334
20200812_204608
20200814_131124
20200814_145916
20200815_131143
20200818_121659
20200818_124944
20200819_173945
20200819_201656
20200819_203933
20200820_153712
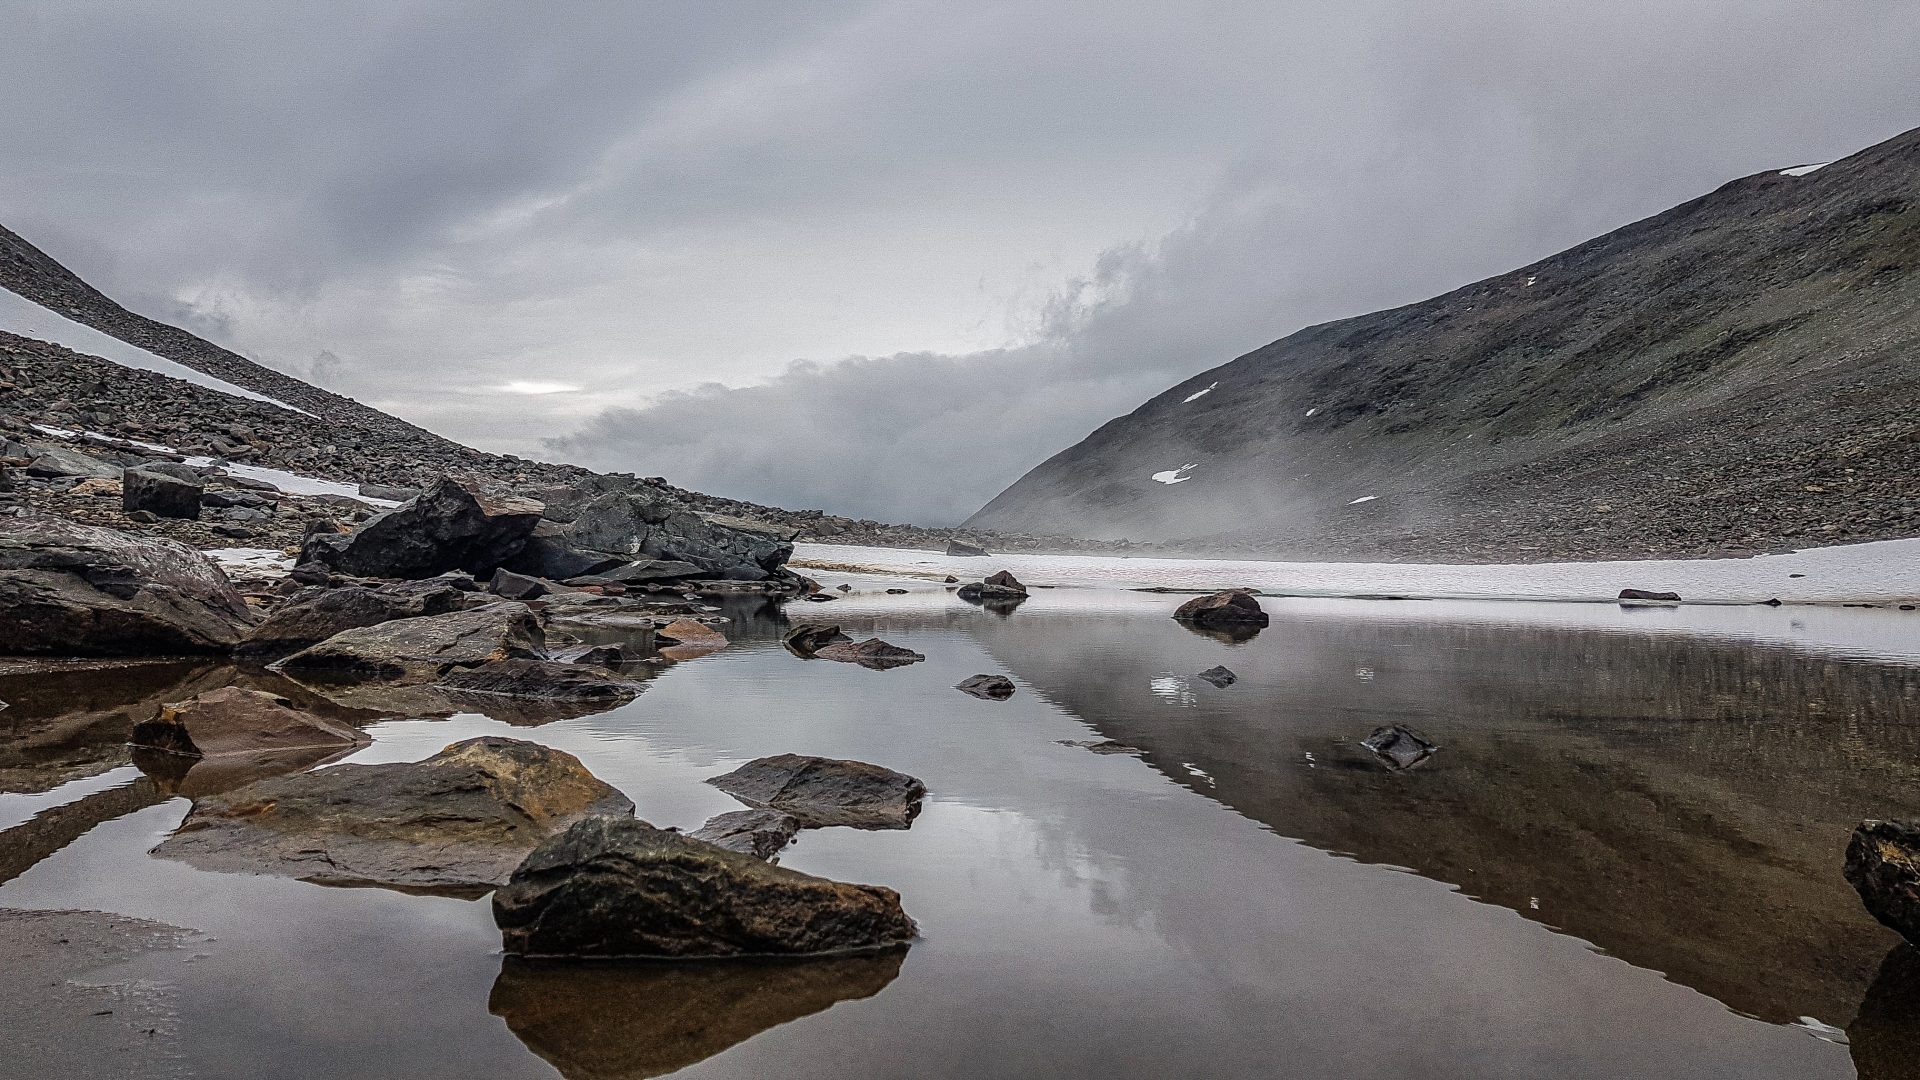
20200821_132946
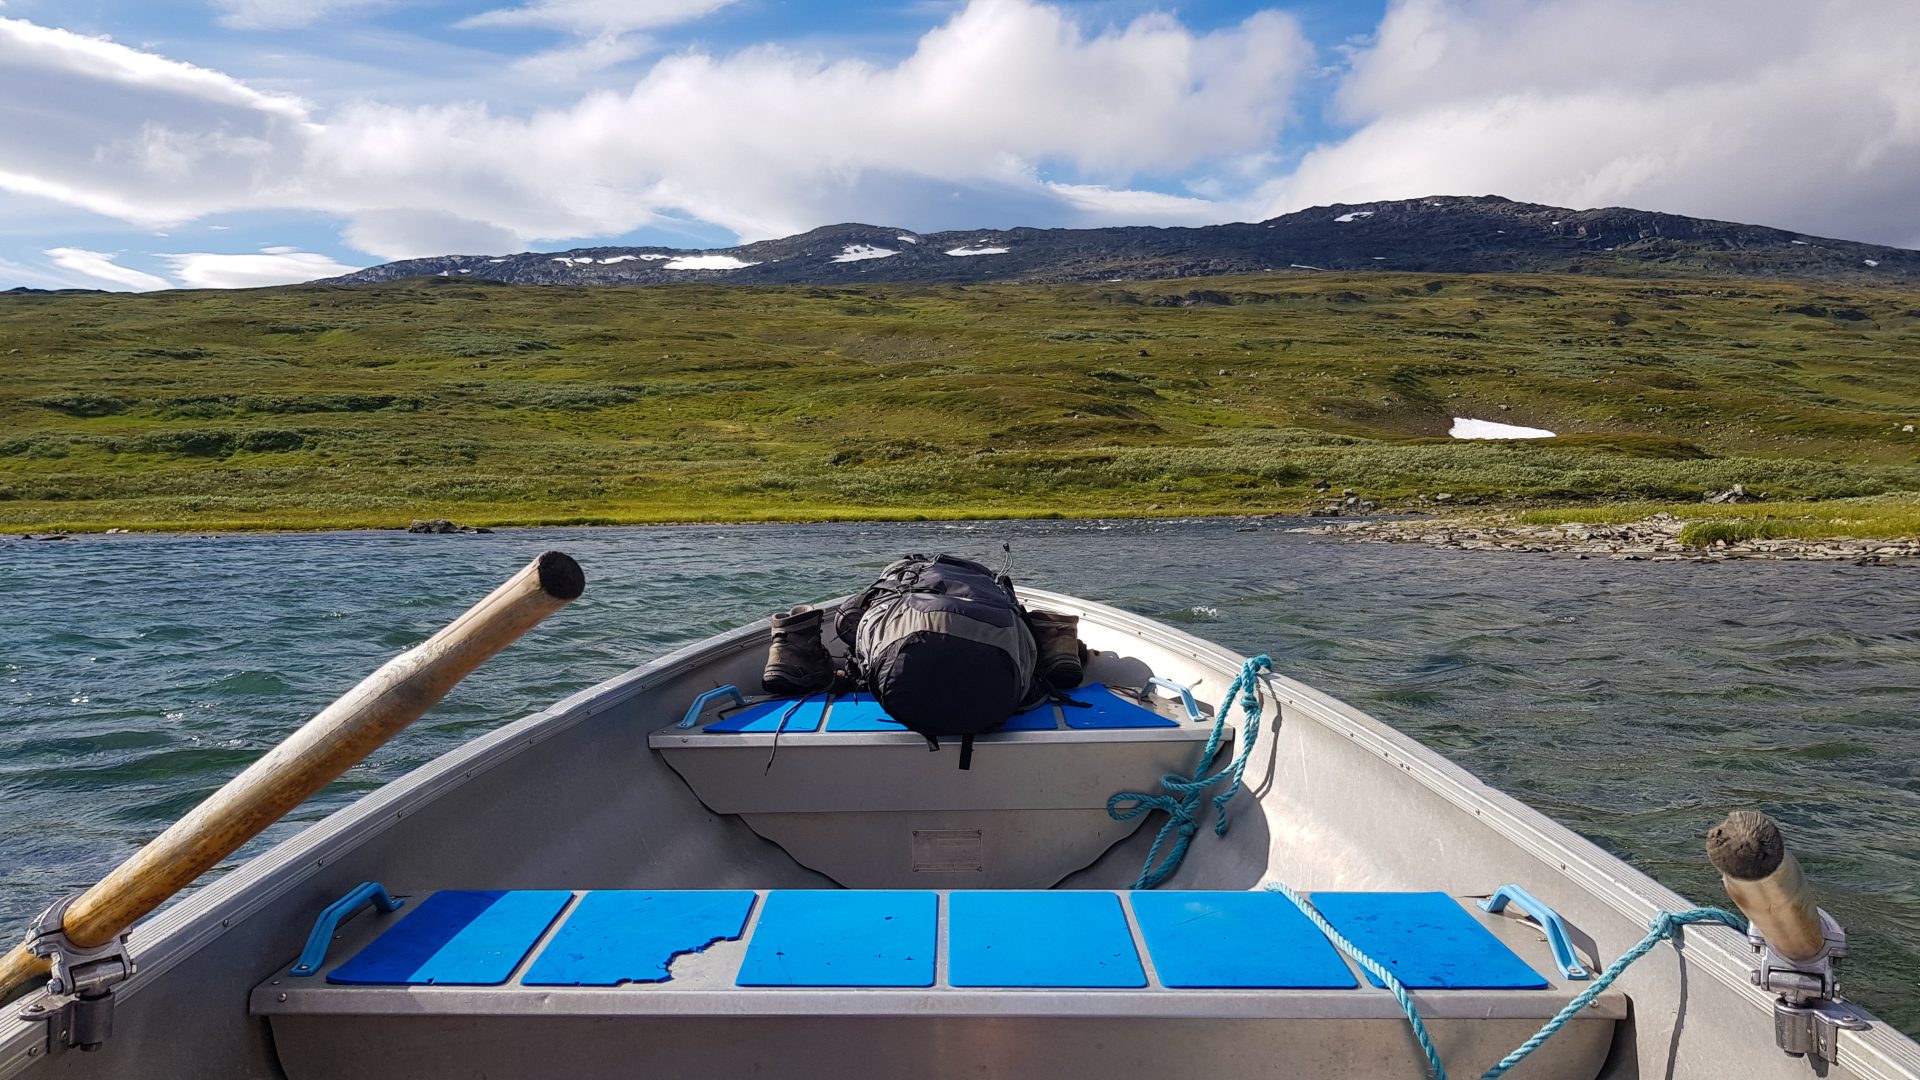
20200821_140705
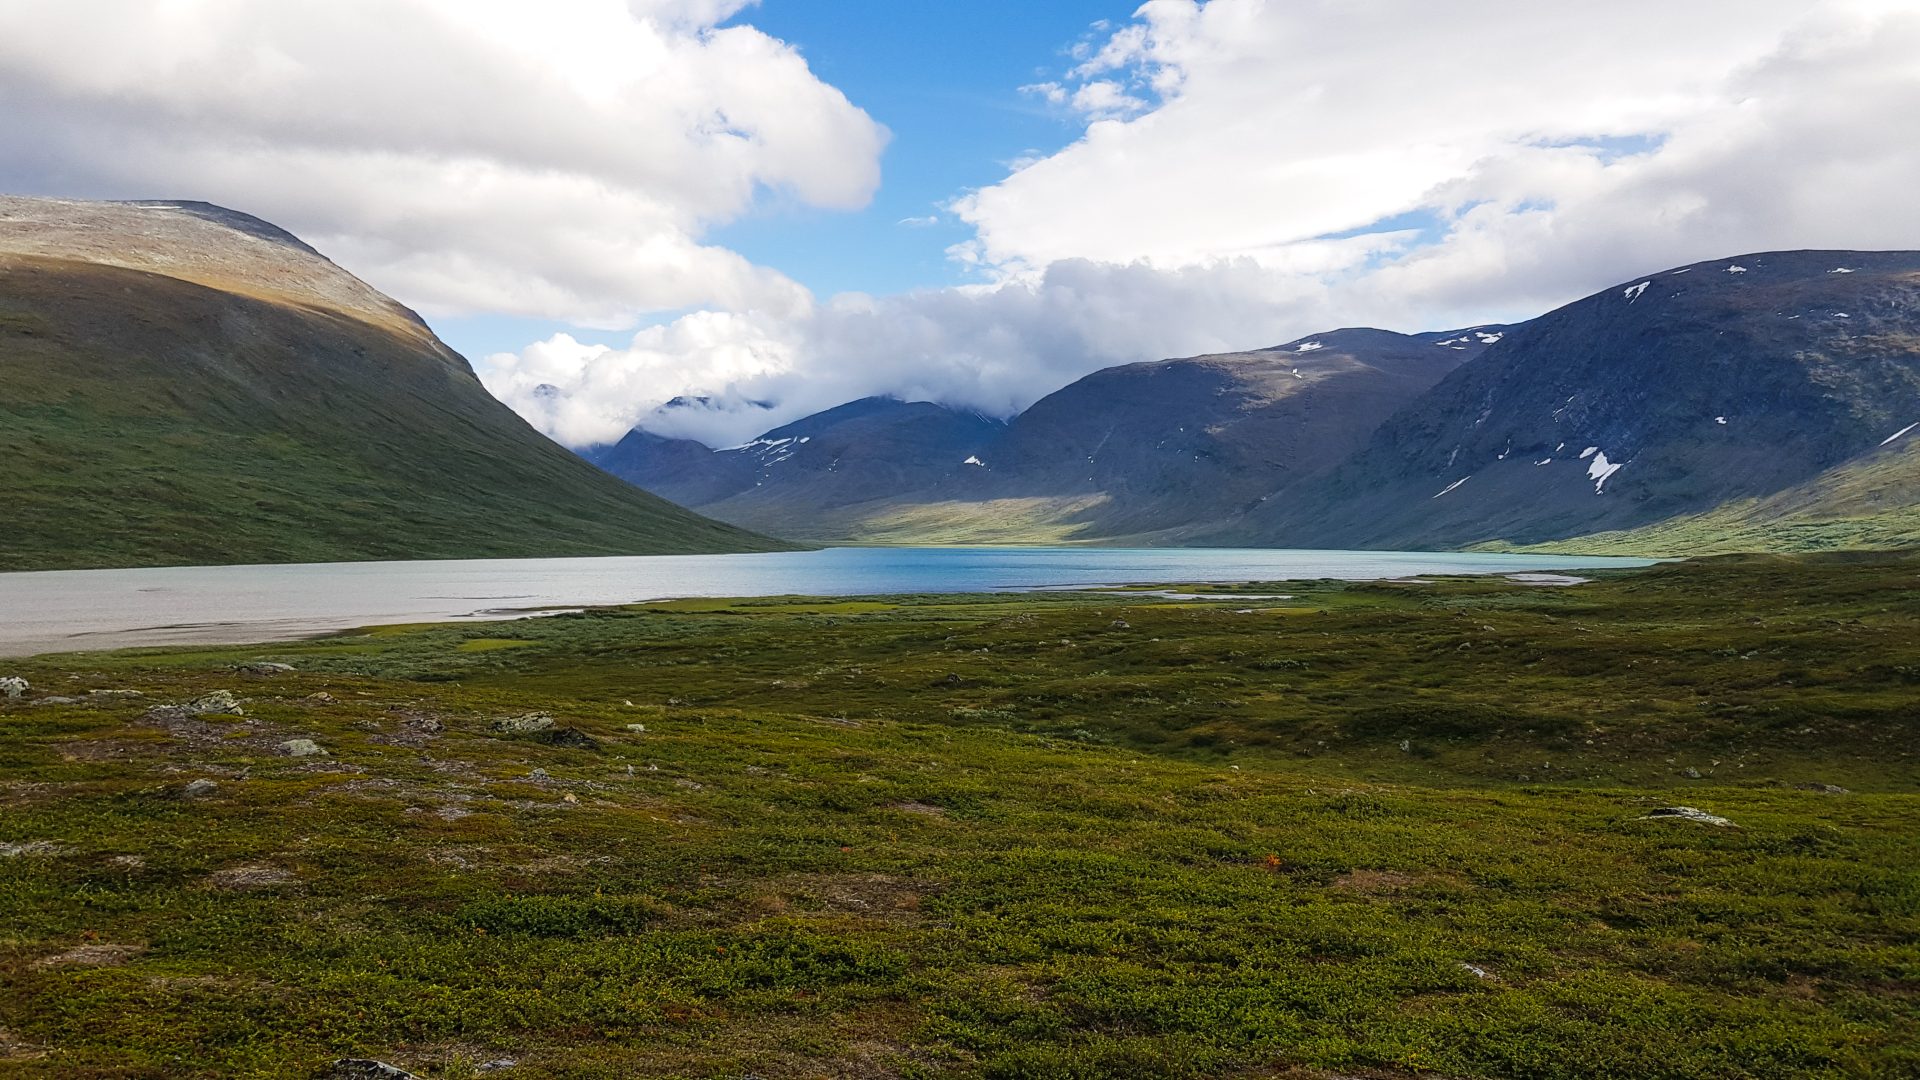
20200825_124207
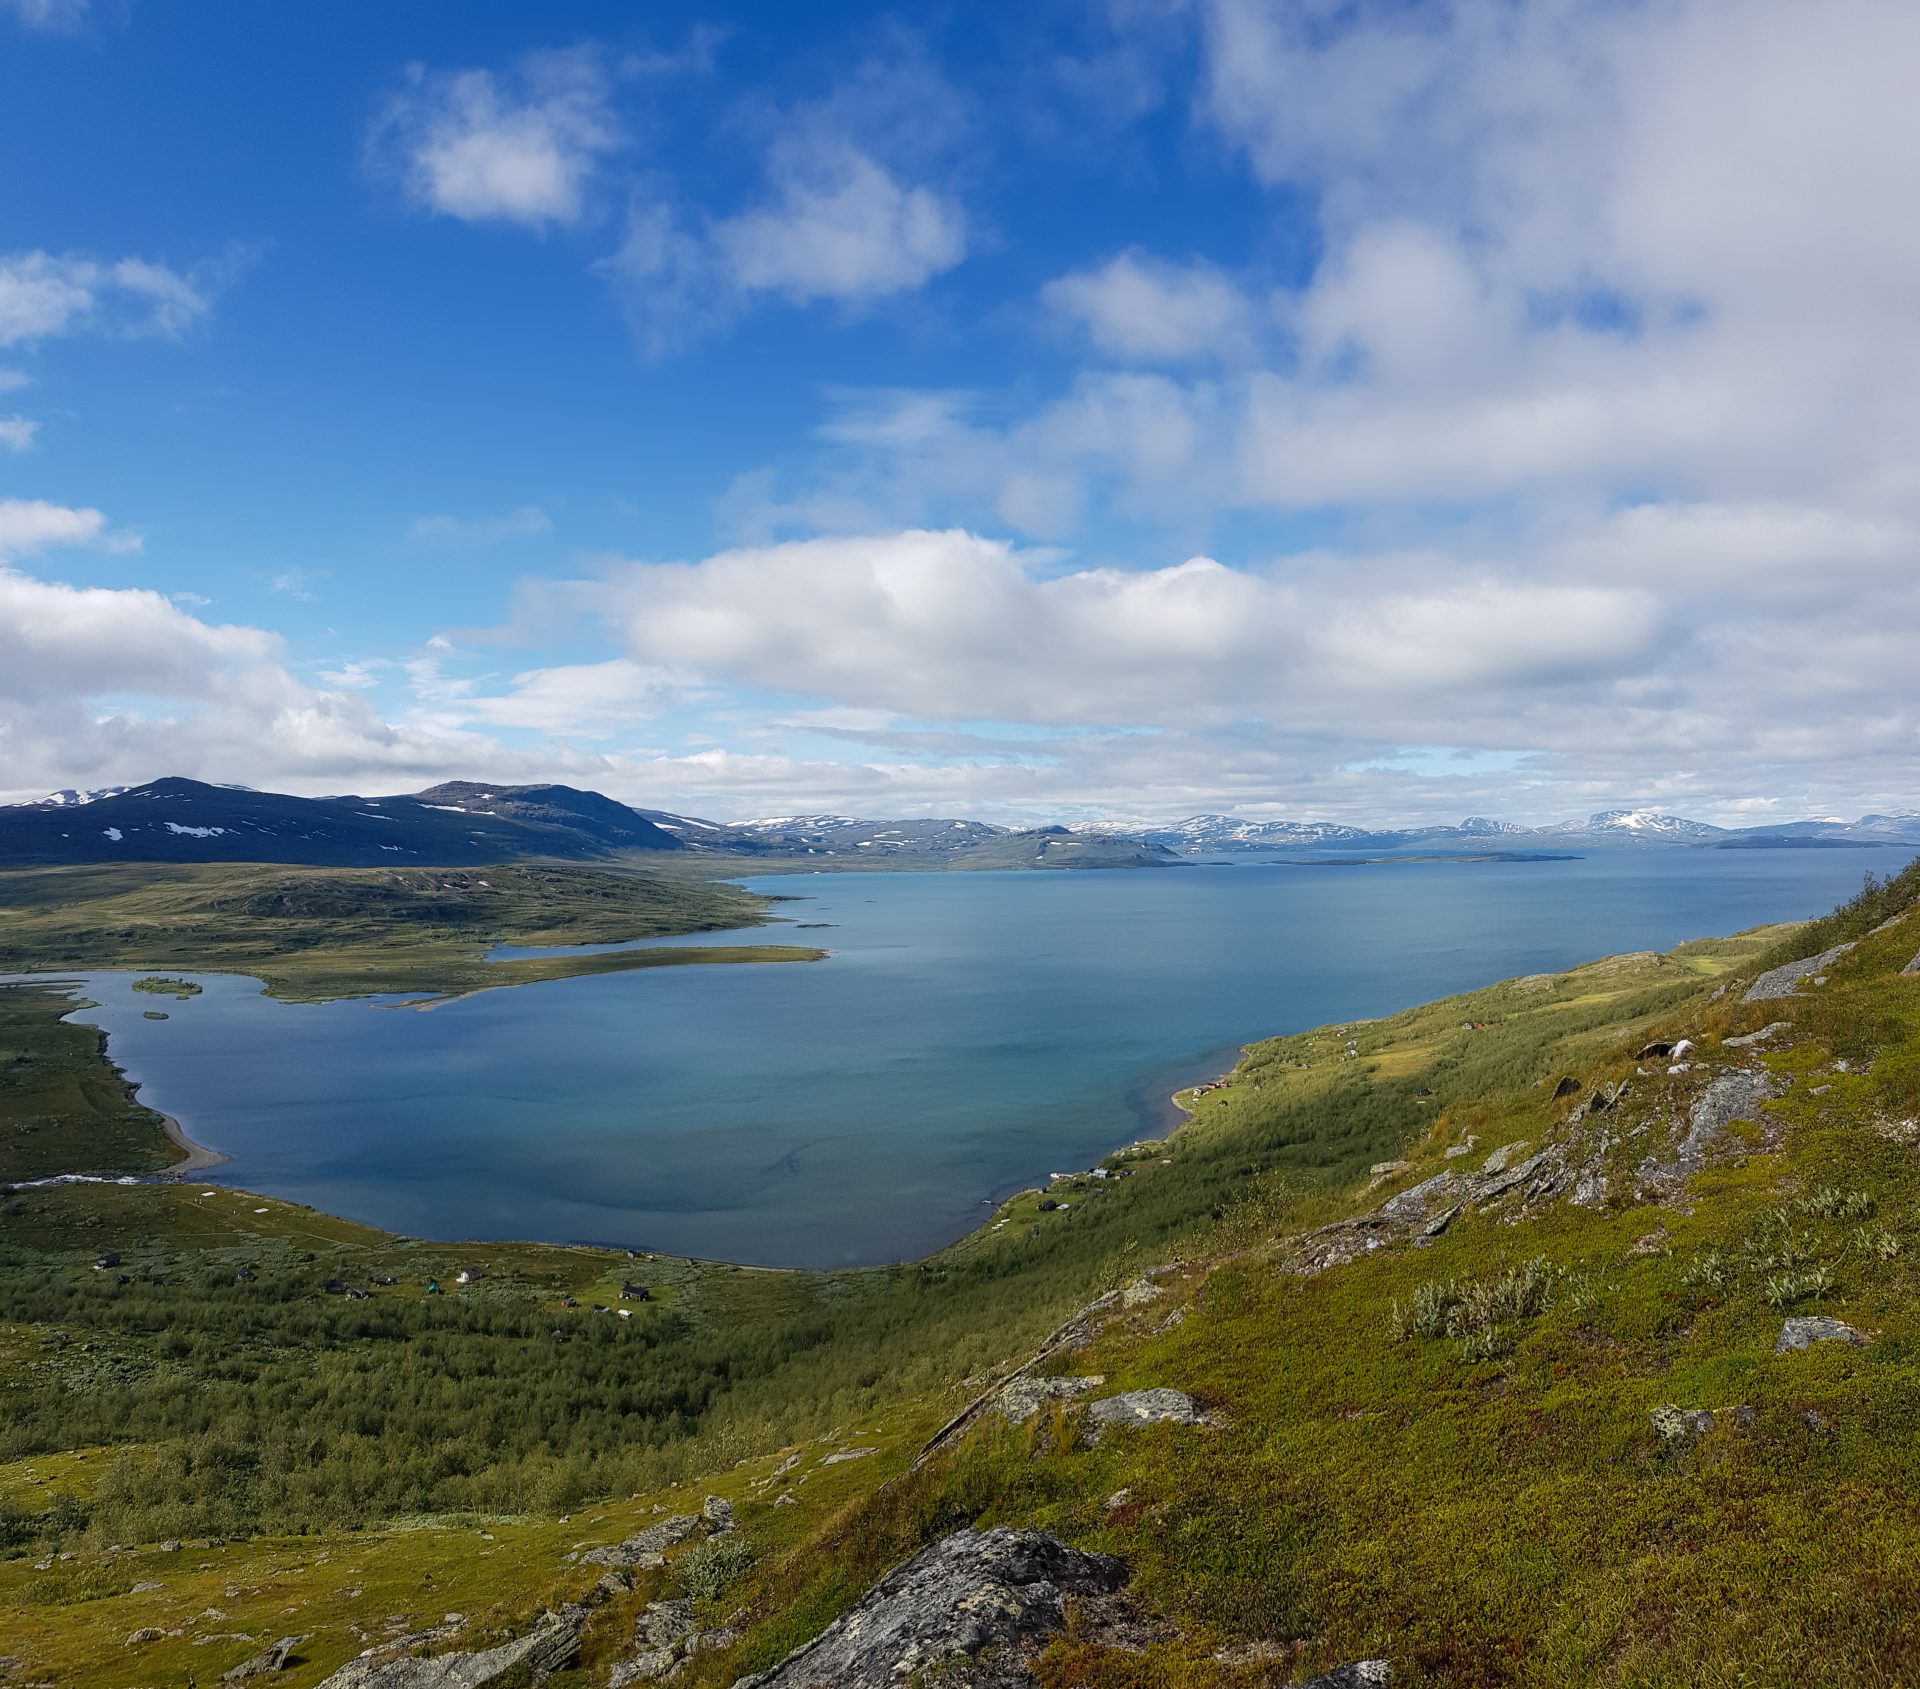
20200815_125502
How to get there
There are three main points to enter or exit Sarek National Park. I’ll get to them later. The two main towns that serve as gateways into Sarek are Gällivare and Jokkmokk. There is pretty much no difference between the towns, and both are accessible by car and train.
The only two criteria are:
- • If you plan to fly, only Gällivare has an airport.
- If you plan to start or end the hike from Kvikkjokk, Jokkmokk is more favorable. If you plan to start from the east or north, Gällivare is better.
From both towns, there are buses that will take you to your preferred starting point.
Routes
The good (or bad) news is that there are no official routes or trails. This is one of the defining characteristics of backcountry hiking.
However, it’s not like there are no visible paths at all. Because it is hiked by many people, you will often find small, visible paths. If there is no need for a trail because the route is cross-country (CC), there will be nothing. The map and GPX files will show my route, as well as the two big adjacent, established trails with full-service infrastructure (huts): the Kungsleden and the Padjelantaleden.
Tipp: Open the side panel on the left and toggle the different routes.
- Download the whole map HERE
- Download my route HERE
- Add the map to Google Maps HERE
- Download mentioned PoI’s HERE
- Kungsleden source HERE
- Padjelantaleden source HERE
Map Sarek National Park
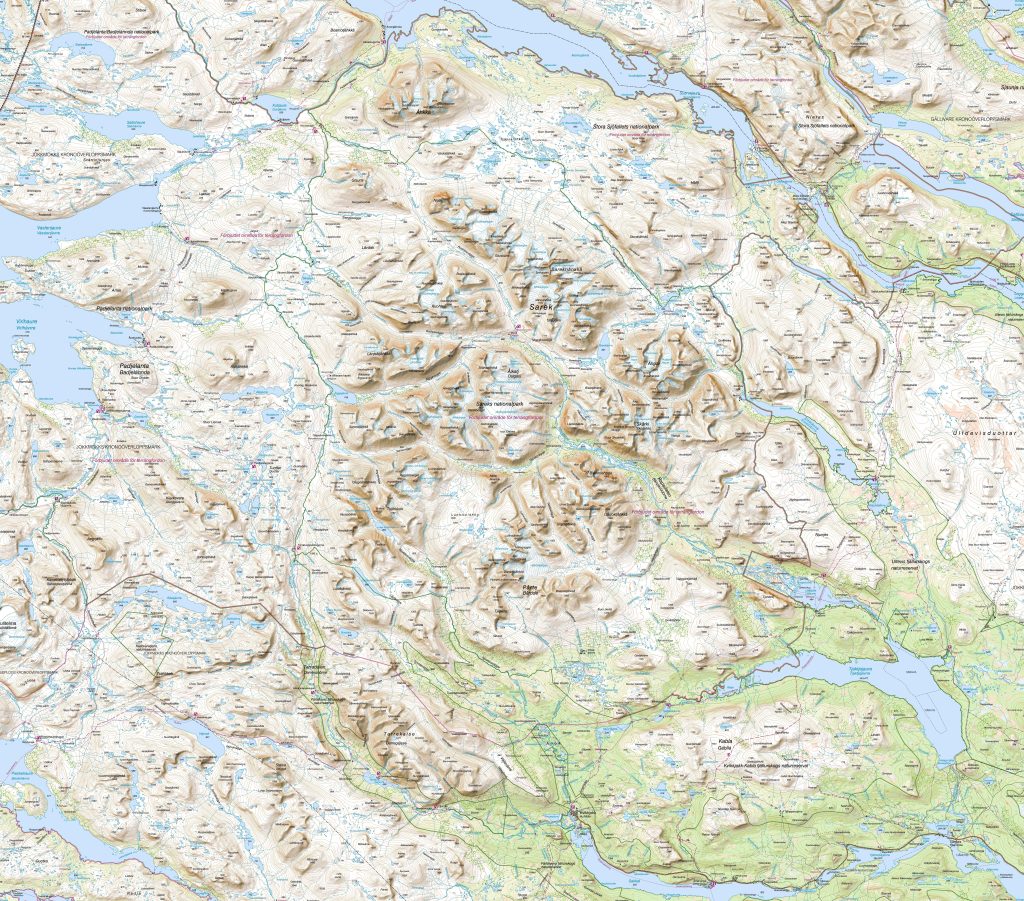
Download Map 1 HERE
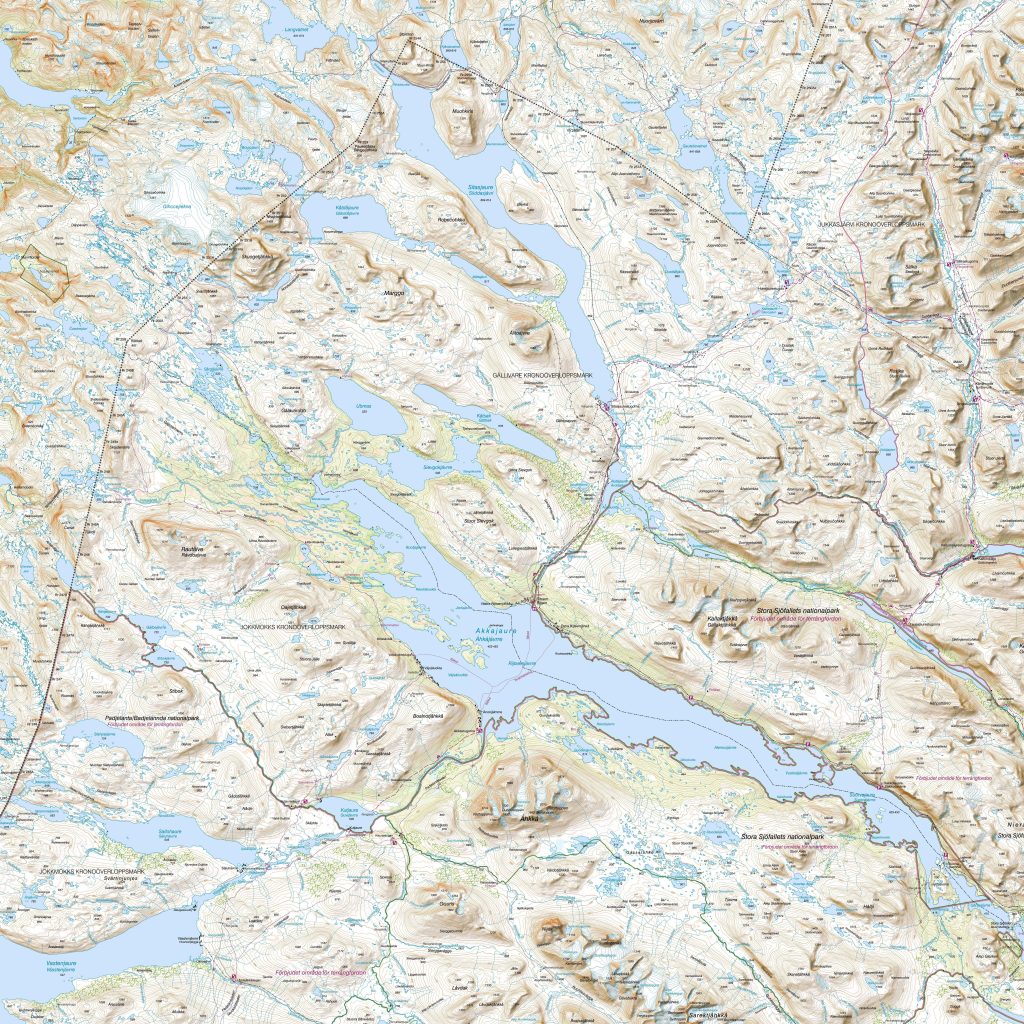
Download Map 2 HERE
This is a classic topo map. I highly recommend using the apps and technical setup I explain in the chapter below, but this map is great for getting an overview. It includes good information like glaciers and a few trails. It’s a solid starting point to get a high-level overview and make a rough plan of where you want to hike—which valleys, summits, etc.
Because Sarek is a well-known and frequently hiked area, there are even old-school, classic book guides available, which is not the norm. For all the other hikes I’ve done, nothing like that exists.
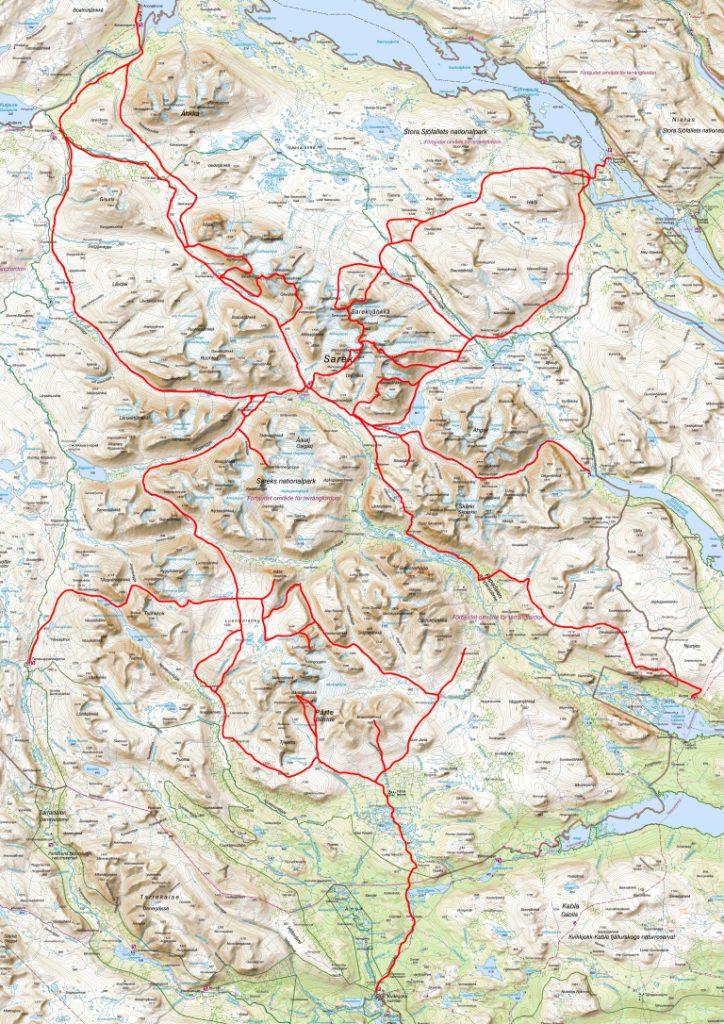
Sarek National Park – Enter/Exit
The two main ways to enter or exit are through the south (Kvikkjokk) or through the east (Kebnats, Suorvadammen, or Ritsem). These points are all accessible by bus, making them very easy and fast.
The third option is through the north (Stáloluokta). This is only possible via helicopter or by hiking in on the Padjelantaleden trail. From Stáloluokta, it’s a 29 km hike to Darreluoppal, from where you can enter the park.
Combination Kungsleden or Padjelantaleden
Because Sarek National Park is surrounded by the famous Kungsleden and the Padjelantaleden, they are great routes for accessing Sarek, getting a resupply, or getting a good night’s sleep in a hut.
Both trails have all the infrastructure you could wish for, including beautiful, comfortable huts. They are great if you want to stay for a night, have a good meal, or restock. The two trails are well-established and easy to hike. Both can be incorporated into a Sarek hike depending on how you want to use them:
- As a highway to hike in or out
- For some easier hiking before or after Sarek
- To have a safe, comfortable shelter
- For a resupply
I definitely recommend combining them with your hike in Sarek, as it will allow you to pack lighter and explore more of the park.
Helicopter to Enter/Exit
Depending on your route, there is also the option to take a helicopter to enter or exit Sarek. Because the village of Stáloluokta is supplied by helicopter, you can catch a flight in or out. There are flights to other locations like Kvikkjokk or Ritsem, but there isn’t really a reason to use them since those spots are accessible by bus. You can find all the information regarding schedules, prices, etc., from the helicopter company Fiskflyg.
My Hiking Route
This section serves as a bit of background on my reasoning.
I wanted to spend as much time as possible in Sarek and see as much as possible without backtracking or carrying everything I would need from Day 1.
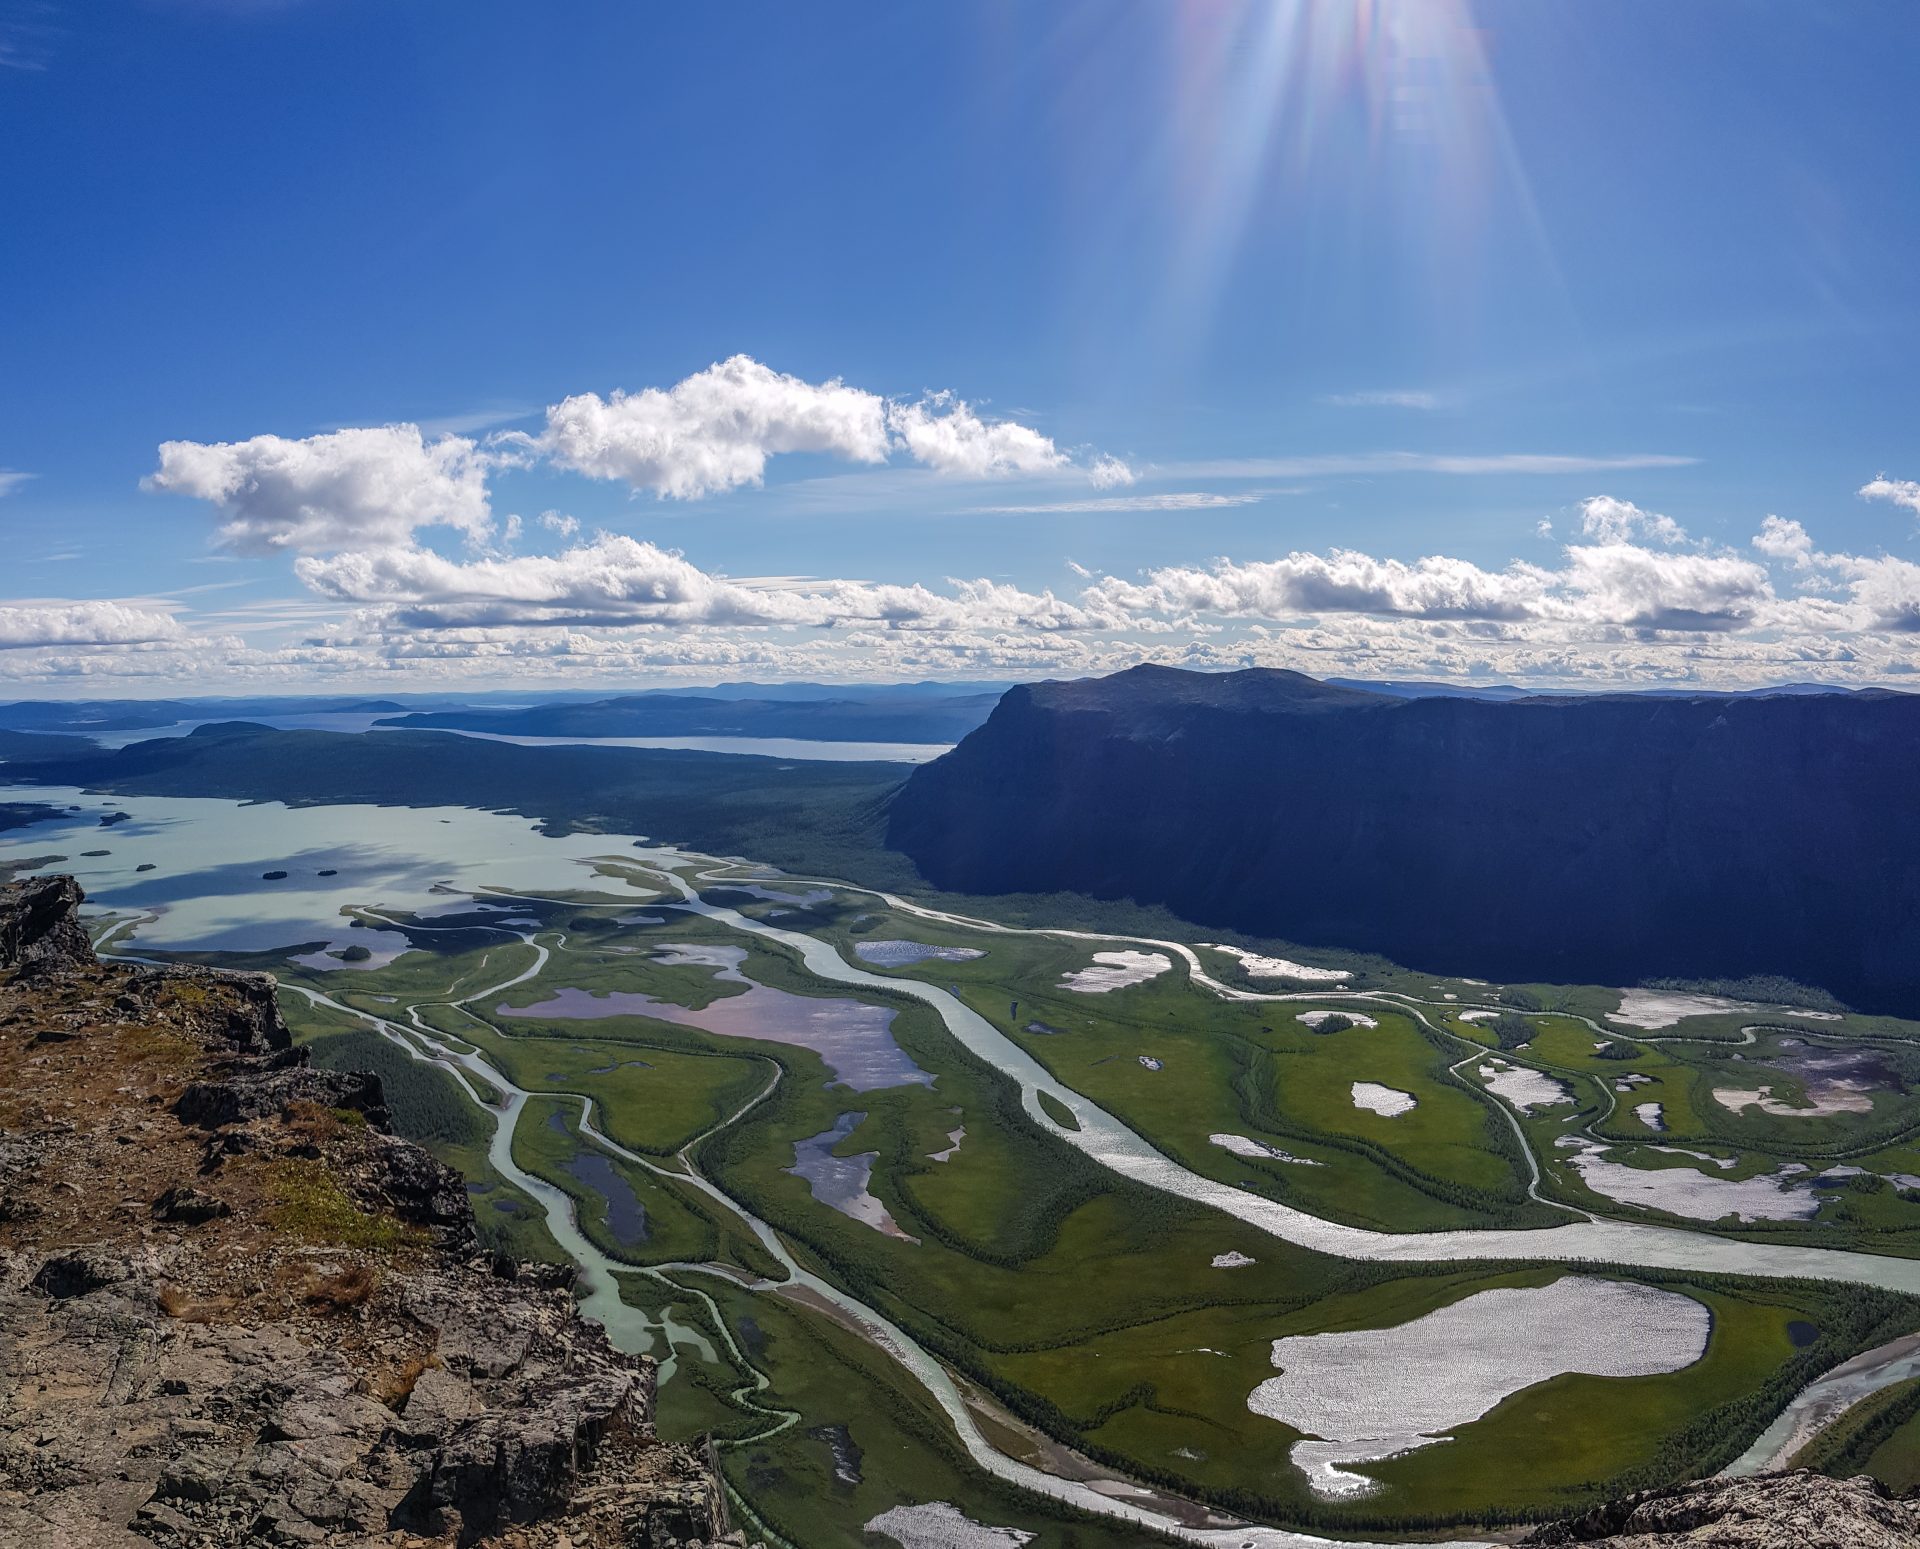
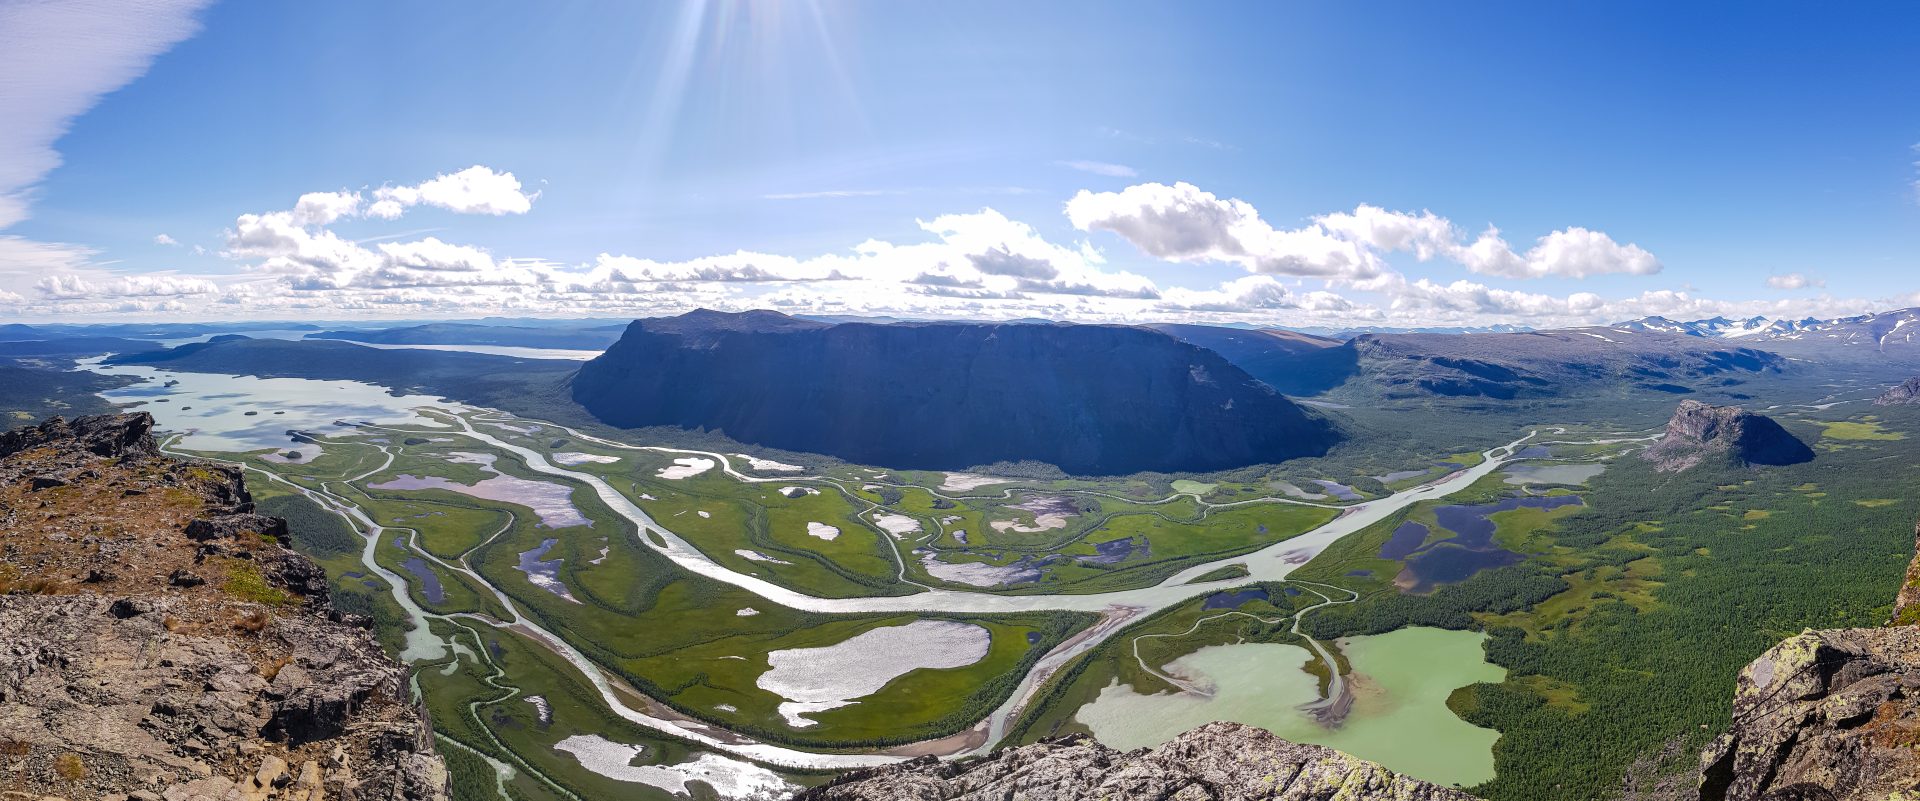
Since I flew in, I started in Gällivare and took the bus to the furthest point—Ritsem. The first stop was one of the highlights: Skierffe. From there, I went for my first resupply at Aktse Fjällstuga. When the weather turned bad, I used the Kungsleden to get to Kvikkjokk, waited out the weather, and re-entered Sarek with a fresh resupply.
Due to limited time, I crossed into the north and took a helicopter out, as the alternative hike out via the Padjelantaleden would have taken too long. If I had one or two more days, I would have hiked it.
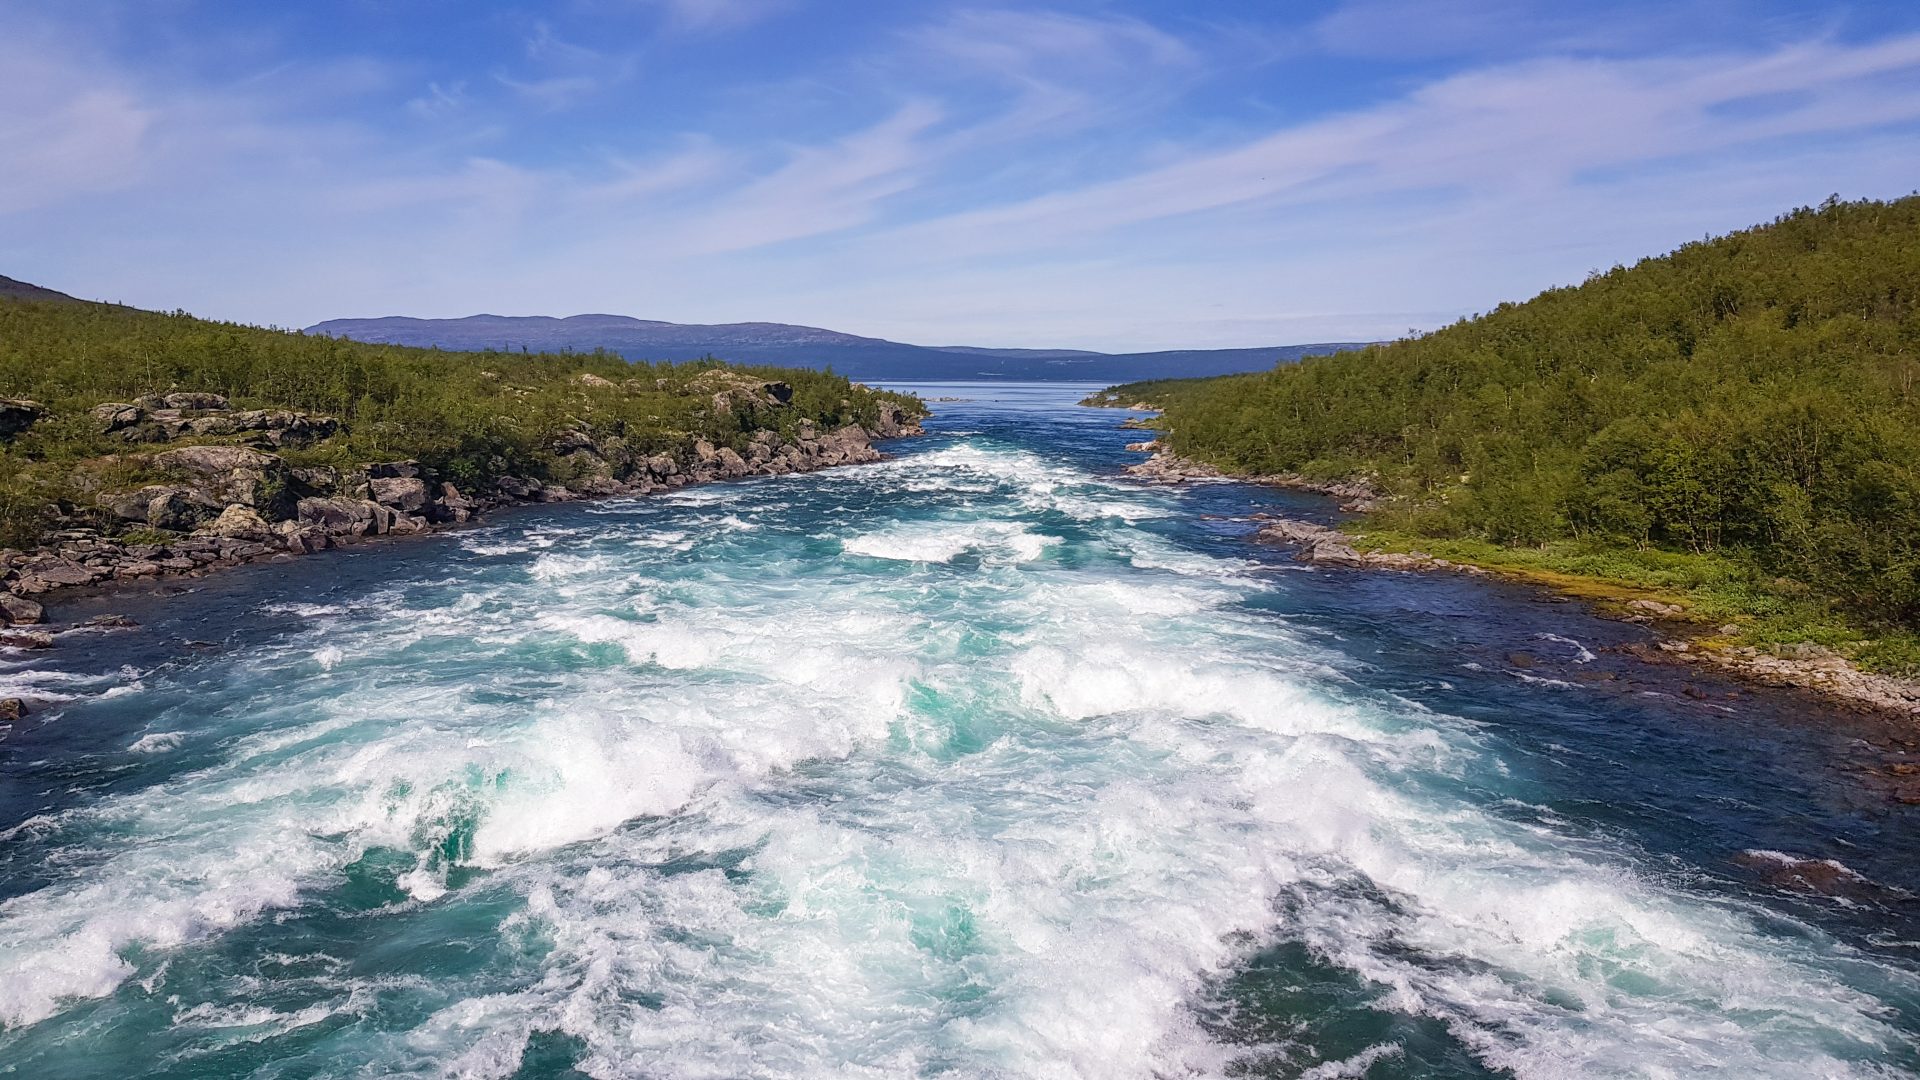
Overall, I considered my specific route quite easy. I never encountered a particularly difficult or challenging part. The only unpleasant section was the approach to Skierffe; before ascending the valley, the bottom was quite swampy—nothing horrible, but annoying.
Infrastructure
There is not a lot of infrastructure in Sarek—that is the beauty of it. But there are a few notable things.
Huts
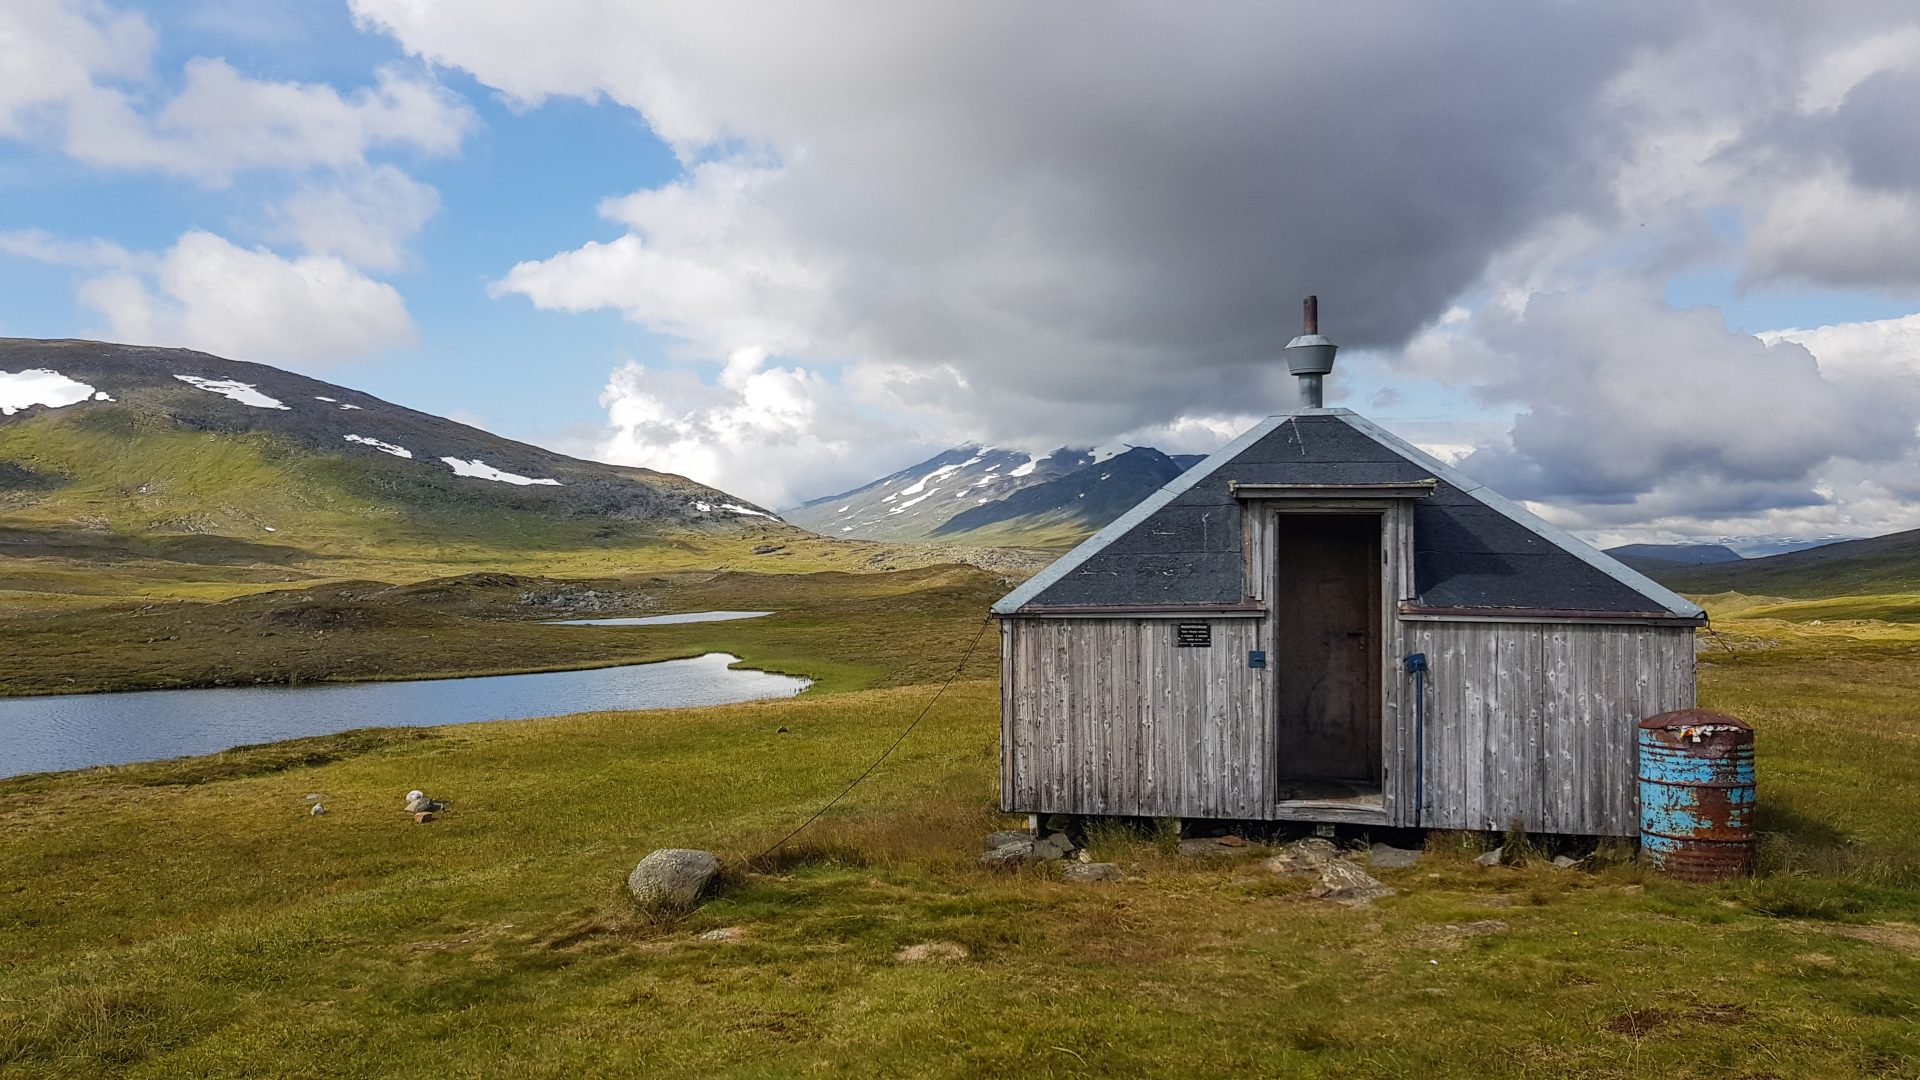
There are no usable tourist huts except for one. It’s in the center of the park and has a satellite phone for emergencies. You should definitely carry your own shelter, but it’s important to know there is a safe place within Sarek: Mikkastugan (Hjälptelefon).
Boats
Boats!? What does this mean? Yes, there are rowboats in Sarek to cross lakes like Álggajávrre. There isn’t just one boat, but three. Why? So everyone can cross the lake independently. This means that if you are on the shore with only one boat, you have to cross the water three times. There must always be at least one boat left on each shore. If you are on the shore with two boats, you are in luck—you can just row across once. Please be aware of this logic and don’t be the person who leaves all the boats on one side!
Navigation Apps & Satellite Device
This was one of the topics I learned the most about during this trip. I’ll just link to the tutorials for further information, but this is the setup I currently use. It is quite refined and much better than what I used previously:
- OrganicMaps
- OSMand (Offline Satellite & Topo 2D/3D)
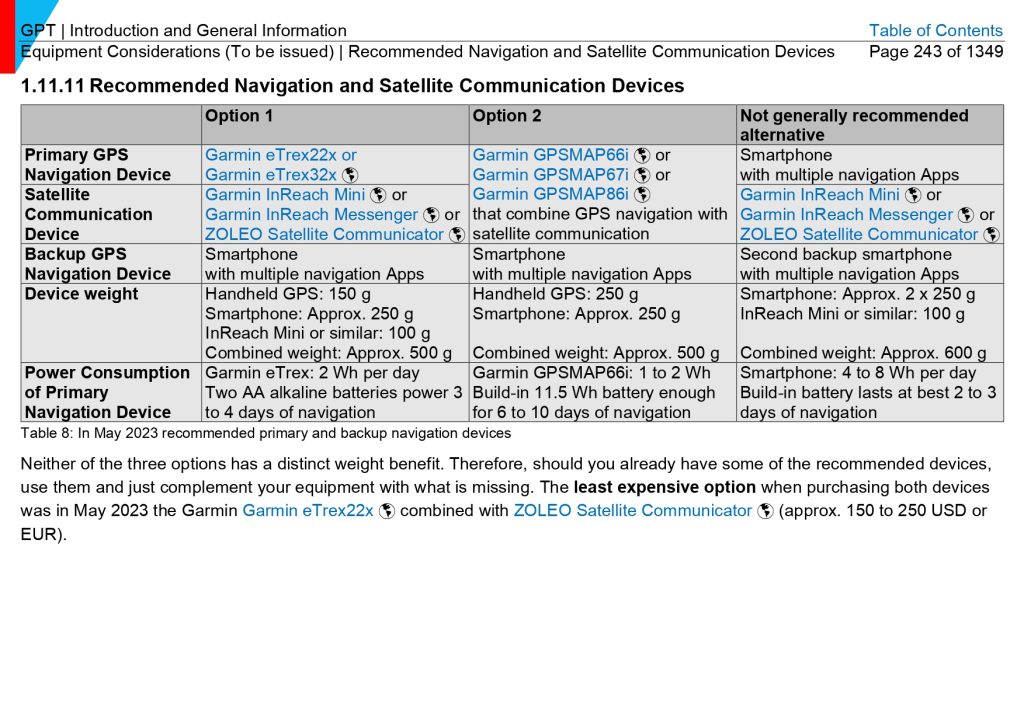
Besides your phone and apps, you also need a satellite communication device. Why? Because there is no cell service. I personally use the Garmin inReach Mini and can highly recommend it. There are other brands, but the criteria are:
- Independently usable: The device can be fully used WITHOUT a phone. The accompanying apps are great, but they MUST be optional.
- 2-Way Communication: You can send and receive messages.
- Features: Location requests (if your location is unknown, people you know can request it), weather forecasts (for any location in the world), and basic navigation.
Redundant Devices
Is a phone and an inReach Mini sufficient? No. You need redundancy—at least one backup with all the capabilities you need for navigation.
Do you need a second satellite device? In my opinion, no. They are designed to be incredibly robust. Also, an iPhone with emergency satellite capabilities does not count as a dedicated satellite device; it’s a nice-to-have, but it doesn’t replace the real thing.
So, what does this mean? The most common setup I’ve seen was:
- 1 phone + satellite communication device
Which means of the phone breaks, there is no backup.
Depending on the route, a smartwatch like the Garmin Forerunner or Fenix can also be used as a backup navigation device.
My personal setup is: 2 phones + 1 smartwatch + 1 satellite communication device.
There is a great overview in the handbook of the Greater Patagonia Trail [GPT] – this trail is more remote but shows different options – you can find the complete hikers manual HERE.
Cheers – I hope this guide helps a little with your planning! 🙂
Leave a Reply